This is where the role of a custom ROM comes into play. While there are a plethora of such ROMs to choose from, however, LineageOS has established itself at the absolute pinnacle of this domain and hardly needs an introduction or two. And now, its latest version based on Android 13 has made its way over to the Pixel flagships. So without further ado, let’s check out the steps to welcome abode the LineageOS 20 custom ROM onto your Pixel 7/Pro. Follow along.
Install LineageOS 20 Android 13 on Pixel 7/Pro
The below instructions are applicable across both Pixel 7 and well as Pixel 7 Pro. Droidwin and its members wouldn’t be held responsible in case of a thermonuclear war, your alarm doesn’t wake you up, or if anything happens to your device and data by performing the below steps.
STEP 1: Install Android SDK
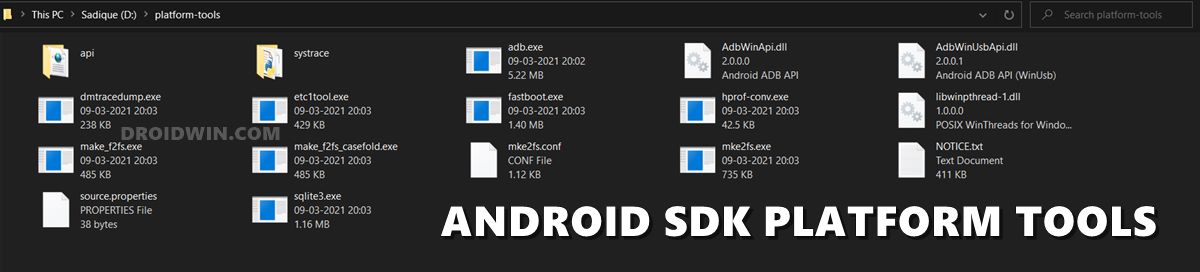
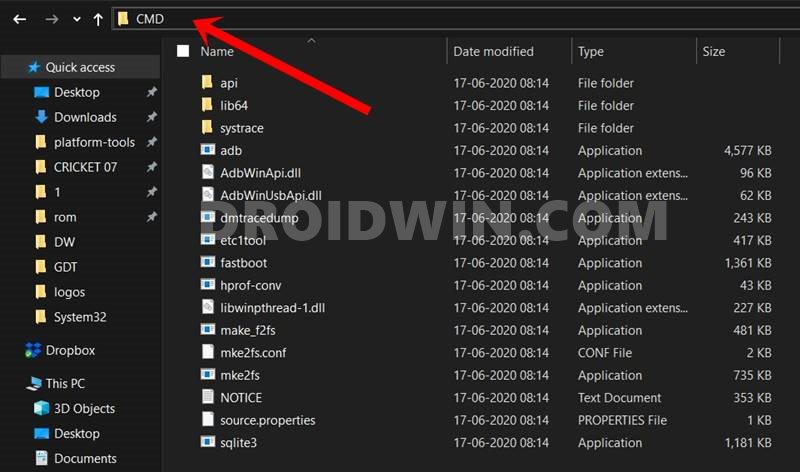
First and foremost, you will have to install the Android SDK Platform Tools on your PC. This is the official ADB and Fastboot binary provided by Google and is the only recommended one. So download it and then extract it to any convenient location on your PC. Doing so will give you the platform-tools folder, which will be used throughout this guide.
STEP 2: Enable USB Debugging and OEM Unlocking
Next up, you will also have to enable USB Debugging and OEM Unlocking on your device. The former will make your device recognizable by the PC in ADB mode. This will then allow you to boot your device to Fastboot Mode. On the other hand, OEM Unlocking is required to carry out the bootloader unlocking process.
So head over to Settings > About Phone > Tap on Build Number 7 times > Go back to Settings > System > Advanced > Developer Options > Enable USB Debugging and OEM Unlocking.
STEP 3: Unlock Bootloader on Pixel 7/Pro
Next up, you will also have to unlock the device’s bootloader. Do keep in mind that doing so will wipe off all the data from your device and could nullify its warranty as well. So if that’s all well and good, then please refer to our detailed guide on How to Unlock the Bootloader on Pixel 7/Pro. Once done, don’t restore the backup now as well will again have to format the device in the subsequent steps.
STEP 4: Download Android 13 Custom ROMs for Pixel 7/Pro
You may now grab hold of the LineageOS 20 based on Android 13 for your Pixel 7/Pro from below:
STEP 5: Boot Pixel 7/Pro to Fastboot Mode
STEP 6: Install LineageOS 20 Custom ROM on Pixel 7/Pro
That’s it. These were the steps to install the LineageOS 20 Custom ROM based on Android 13 on your Pixel 7/Pro. If you have any queries concerning the aforementioned steps, do let us know in the comments. We will get back to you with a solution at the earliest.
Pixel 7/Pro stuck in Fastboot after rooting it via Magisk [Fixed]How to Install OTA Updates on Rooted Pixel 7/Pro [3 Methods]Pass SafetyNet & Hide Root from Apps on Rooted Pixel 7/ProHow to Flash Kirisakura Custom Kernel on Pixel 7/Pro
About Chief Editor
![]()
![]()
![]()
![]()
![]()
![]()
![]()
![]()
![]()
![]()
![]()
![]()
![]()
![]()
